Cluster Recovery Check DNS Configuration
Introduction
If recovering from a power outage guide still did not recover the pi-hole cluster, then it's possble that the pi hole pod has tried to launch on a different instance and in the process of the reboot, the nodes DNS configuration has been lost / reset by the DHCP server. As such, we need to point all nodes back at the correct DNS server.
How To Connect to the Cluster Nodes
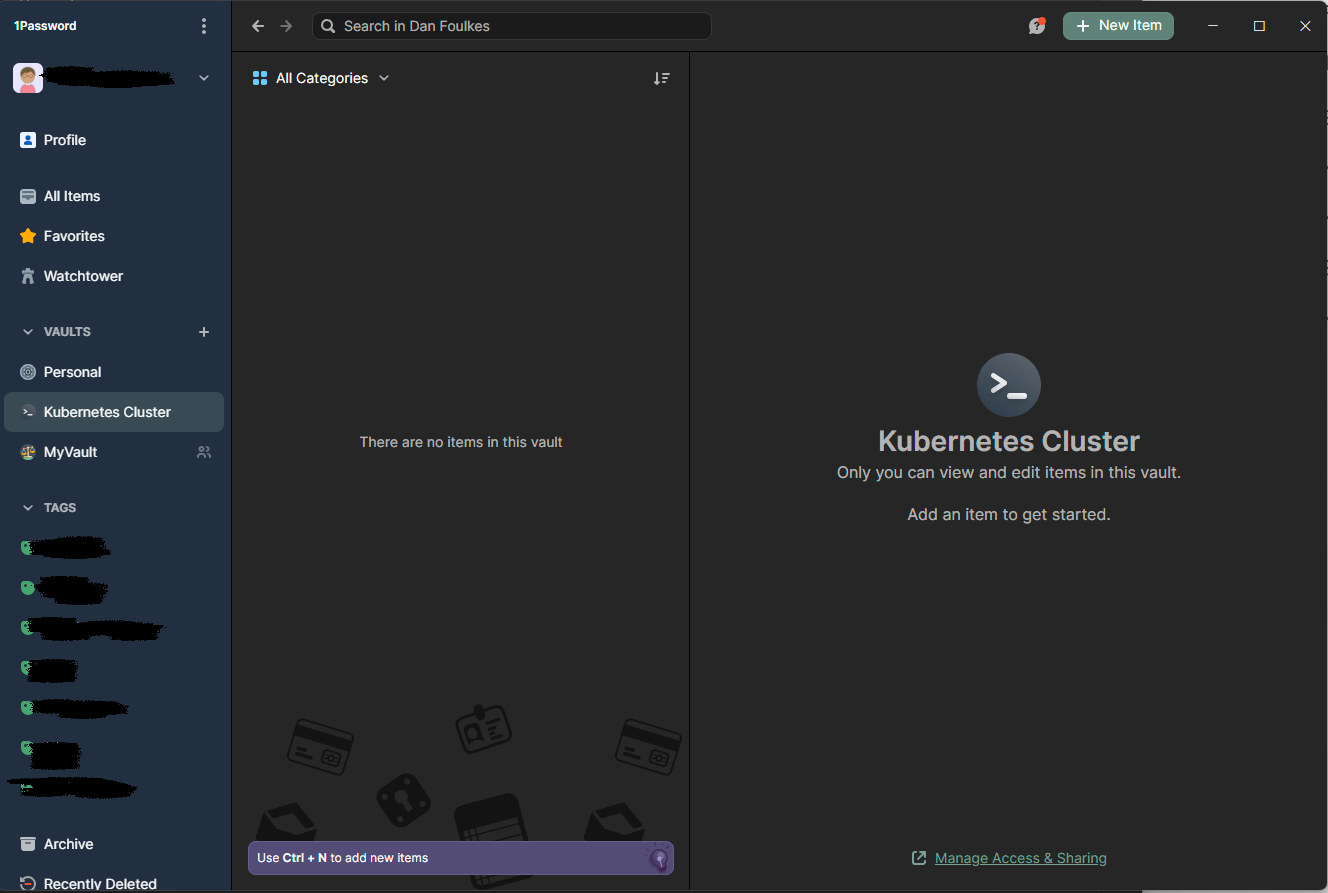
You can access 1password client on any of my Desktop machines.

Firstly, we need to identify which nodes are running or attempting to run the pi-hole pod.
The easiest way of doing this is with a tool called kubectl. This is a command line tool that allows you to interact with the kubernetes cluster.
Identify Which Nodes is Trying to Run Pi-Hole
Open a terminal on your local machine.
Win > Terminal > Enter
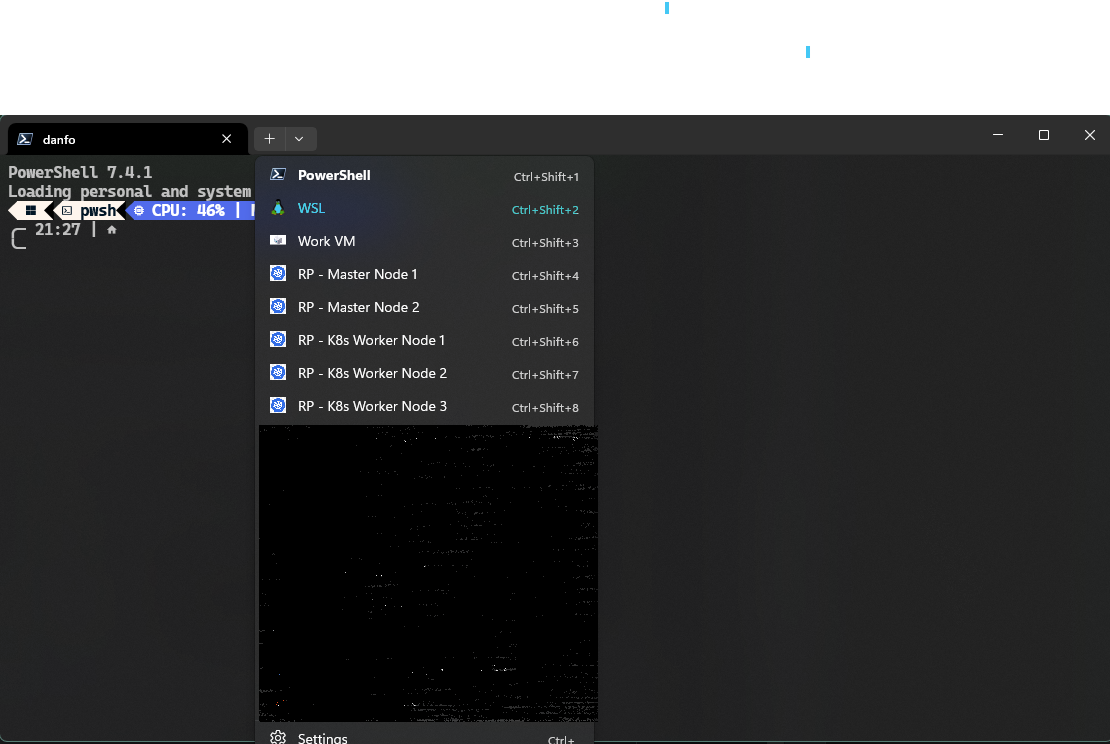
From the teminal,Select the down arrow to the right of the terminal name and select `WSL`.

We now need to check on which nodes the pi-hole pod is attempting to run. To do this, we need to run the following command:
kubectl get pods -n piholeThe output should look something like this:
NAME READY STATUS RESTARTS AGE pihole-5575b5fd69-4xgs5 2/2 Running 3 (2d15h ago) 7d5hTo view node of pod, you will need to read it's description with the following command:
kubectl describe pod pihole-5575b5fd69-4xgs5 -n pihole
Check DNS Configuration of the Node
- kubectl describe pods pihole-5575b5fd69-4xgs5 -n pihole kubectl describe pods pihole-5575b5fd69-4xgs5 -n pihole
The output should look something like this.
The key information we are looking for is the
Nodefield. This will tell us which node the pod is running on. in this case, the pod is running or in your case attempting to run on the nodek8s-master-2.1 (0.064s) 21:40:00 Name: pihole-5575b5fd69-4xgs5 Namespace: pihole Priority: 0 Service Account: default Node: k8s-master-2/NODE_IP Start Time: Sun, 28 Jan 2024 16:27:36 +0000 Labels: app=pihole pod-template-hash=5575b5fd69 release=pihole Annotations: checksum.config.adlists: d343e2f69d3252a9ddec13b423509b5a954f1b427ec2778c3ab7d7ec0f241cf checksum.config.blacklist: 01ba4719c80b6fe911b091a7c05124b64eeece964e09c058ef8f9805daca546 checksum.config.dnsmasqConfig: 325efd93269609b8086d0e27d7373deb17db914aca7b03092239b1902c3486a checksum.config.regex: 01ba4719c80b6fe911b091a7c05124b64eeece964e09c058ef8f9805daca546 checksum.config.staticDhcpConfig: 01ba4719c80b6fe911b091a7c05124b64eeece964e09c058ef8f9805daca546 checksum.config.whitelist: 1be1e4f4f2336e3e505c957552f6e9988ac42f0cea3678392875c3651860e6e Status: Running IP: 10.42.1.22 IPs: IP: 10.42.1.22 Controlled By: ReplicaSet/pihole-5575b5fd69 Containers: cloudflared: Container ID: containerd://807fb71d0a793d24ccc90ba81c2e78744754dbaf61fdb98f613bfda43a21f6f8 Image: crazymax/cloudflared:latest Image ID: docker.io/crazymax/cloudflared@sha256:494a58d5a9d3aa45af33a84a5b2091270dc3bc734f9d5b9ac0cbf18f5b7a66a5 Ports: 5053/UDP, 49312/TCP Host Ports: 0/UDP, 0/TCP State: Running Started: Fri, 02 Feb 2024 06:30:16 +0000 Last State: Terminated Reason: Completed Exit Code: 0 Started: Wed, 31 Jan 2024 18:30:32 +0000 Finished: Fri, 02 Feb 2024 06:30:16 +0000 Ready: True Restart Count: 2 Limits: memory: 128Mi Requests: memory: 128Mi Liveness: exec [nslookup -po=5053 cloudflare.com 127.0.0.1] delay=60s timeout=5s period=10s #success=1 #failure=10 Environment: TUNNEL_DNS_UPSTREAM: https://aufvfbzgbj.cloudflare-gateway.com/dns-query Mounts: /var/run/secrets/kubernetes.io/serviceaccount from kube-api-access-l27w2 (ro) pihole: Container ID: containerd://e31a5d5104cdef675464da4e489d1d0e53e1cec16fd7c37609d980cf6873addb Image: pihole/pihole:2024.01.0 Image ID: docker.io/pihole/pihole@sha256:d095ec4982b6d9d6ccd95e7cf9c6c731d073d3ec4705de1d3cc1bfa4f3633e03 Ports: 80/TCP, 53/TCP, 53/UDP, 443/TCP, 67/UDP Host Ports: 0/TCP, 0/TCP, 0/UDP, 0/TCP, 0/UDP State: Running Started: Wed, 31 Jan 2024 18:30:33 +0000 Last State: Terminated Reason: Unknown Exit Code: 255 Started: Sun, 28 Jan 2024 16:27:49 +0000 Finished: Wed, 31 Jan 2024 18:30:16 +0000 Ready: True Restart Count: 1 Limits: cpu: 3 memory: 1Gi Requests: cpu: 500m memory: 512Mi Liveness: http-get http://:http/admin/index.php delay=60s timeout=5s period=10s #success=1 #failure=10 Readiness: http-get http://:http/admin/index.php delay=60s timeout=5s period=10s #success=1 #failure=3 Environment: WEB_PORT: 80 VIRTUAL_HOST: pi.hole WEBPASSWORD: set to the key 'password' in secret 'pihole-password' Optional: false REV_SERVER: true REV_SERVER_CIDR: ROUTER_IP/24 REV_SERVER_DOMAIN: local REV_SERVER_TARGET: ROUTER_IP DNS1: 127.0.0.1#5053 DNS2: 127.0.0.1#5053 Mounts: /etc/addn-hosts from custom-dnsmasq (rw,path="addn-hosts") /etc/dnsmasq.d/02-custom.conf from custom-dnsmasq (rw,path="02-custom.conf") /etc/dnsmasq.d/05-pihole-custom-cname.conf from custom-dnsmasq (rw,path="05-pihole-custom-cname.conf") /etc/pihole from config (rw) /etc/pihole/adlists.list from adlists (rw,path="adlists.list") /etc/pihole/whitelist.txt from whitelist (rw,path="whitelist.txt") /var/run/secrets/kubernetes.io/serviceaccount from kube-api-access-l27w2 (ro) Conditions: Type Status Initialized True Ready True ContainersReady True PodScheduled True Volumes: config: Type: EmptyDir (a temporary directory that shares a pod's lifetime) Medium: SizeLimit: unset custom-dnsmasq: Type: ConfigMap (a volume populated by a ConfigMap) Name: pihole-custom-dnsmasq Optional: false adlists: Type: ConfigMap (a volume populated by a ConfigMap) Name: pihole-adlists Optional: false whitelist: Type: ConfigMap (a volume populated by a ConfigMap) Name: pihole-whitelist Optional: false kube-api-access-l27w2: Type: Projected (a volume that contains injected data from multiple sources) TokenExpirationSeconds: 3607 ConfigMapName: kube-root-ca.crt ConfigMapOptional: nil DownwardAPI: true QoS Class: Burstable Node-Selectors: none Tolerations: node.kubernetes.io/not-ready:NoExecute op=Exists for 300s node.kubernetes.io/unreachable:NoExecute op=Exists for 300s Events: none
Update the Nodes DNS
Now that we know which node the pod is running on, we need to connect to that node. To do this, go back to the terminal and from the same drop down menu as before, select the node name as shown in the output of the previous command.
Once open, we need to check the DNS configuration of the node. To do this, run the following command:
cat /etc/resolv.confThe output should look something like this:
nameserver DNS_IPI'm limited in how much I can say in this public document. However, the
DNS_IPshould not point to the pi-hole pod. If it does, then we need to change it to a public DNS server. so.. for example, we need to edit this file with the following command:sudo nano /etc/resolv.confNow change the `DNS_IP` to `1.1.1.1` and save the file.
If you wish to speed the process up, you may wish to delete the pod and let it re-schedule on the correct node.
kubectl delete pod pihole-5575b5fd69-4xgs5 -n pihole
Conclusion
Congratulations, you have now checked the DNS configuration of the node and updated it if required.